


Everything else in a print depends on the first layer. If it does not go down flat and stay stuck, the part either comes loose halfway through or the corners curl up and pull the whole model out of square. Bed adhesion and warping share most of their causes, so most of the fixes overlap. Here is the full checklist, from the ten second fixes to the settings that actually matter.
Start with the plate, not the slicer
The most common reason a first layer will not stick is a dirty build plate. Fingerprints leave a film of skin oil, and oil is exactly what you would use to stop plastic from bonding to something. Wash the plate with warm water and dish soap, dry it with a clean towel, and handle it by the edges from then on. Isopropyl alcohol is fine between prints, but it tends to spread oils around rather than remove them, so a proper wash once a week pays for itself.
Smooth PEI also loses grip as it polishes. If the middle of the sheet has gone glassy where you always print, move your parts to a different area of the plate or scuff that spot lightly with a fine abrasive pad. Textured PEI is far more forgiving and is the safer default for PLA and PETG.
Nozzle height: the squish test
A good first layer looks squashed, never round. If you can see gaps between the extruded lines, the nozzle is too high. If the surface looks rippled, semi transparent and the nozzle plows through plastic, it is too low. What you want is lines that touch their neighbors with a slightly flattened top.

Most modern printers auto level, but auto leveling only maps the shape of the plate. The Z offset, the absolute gap between nozzle tip and plate, is still yours to set. Adjust it in steps of 0.02 mm to 0.05 mm while the first layer is printing and watch the change happen live. A difference of 0.02 mm in either direction is often all that separates a failed print from a perfect one.
Check the nozzle itself too. A blob of cooked filament stuck to the tip will drag through the first layer and peel it off the plate.
Heat: the bed matters more than the nozzle
Bed temperature is what holds the part down while it prints. Run it too cold and the plastic releases as soon as it contracts. Run it too hot and the bottom layers stay soft for too long, which gives you elephant foot, the slight bulge around the base of the part. The table further down has a working range for the most common materials.
One detail people miss: the number on the screen is the temperature of the heater, not of the surface your plastic touches. A thick glass sheet can sit 5C to 10C below the reading. If your bed seems correct on paper and parts still let go, raise it 5C and try again.
Slow the first layer down and turn the fan off
Print the first layer at 20 mm/s to 30 mm/s regardless of how fast the rest of the print runs. Slow extrusion gives the plastic time to melt into the texture of the plate instead of being dragged across it. Set the first layer height to roughly 0.2 mm to 0.25 mm on a 0.4 mm nozzle as well, since a thicker first layer absorbs small leveling errors that a thin one exposes.
Keep the part cooling fan off for the first layer and low for the next two or three. Cold air hitting fresh plastic is one of the quickest ways to lift a corner, and it costs you nothing to delay it.
Why corners warp
Warping is shrinkage with nowhere to go. The upper part of a model cools and pulls inward while the base is still bonded to the plate, and the stress has to resolve somewhere, so it goes into lifting the corners. ABS and ASA shrink the most, with nylon and polycarbonate close behind, PETG a little, and PLA very little. Three things reduce that stress: keep the air around the print warm and still, hold the bed at the right temperature for the entire print rather than the first few layers, and give the part more surface area to hang on to.

Drafts and enclosures
An open window, an air conditioning vent or a fan pointed at the machine will warp ABS or ASA every single time. A cardboard box or an acrylic cover over the printer solves most of it for free. For ABS, ASA, nylon and polycarbonate, treat an enclosure as required equipment rather than an optional upgrade. For PLA the opposite applies: too much trapped heat softens the part and creates its own problems, so leave the door open.
Brims, rafts and glue
A brim is a flat skirt fused to the outline of the part. Five to ten millimeters of brim will hold down most corners and it peels off afterwards. Use one on tall narrow parts, on anything with sharp corners, and on any model with a small footprint.

A raft is a full platform printed under the part. It costs material and time and leaves a rougher bottom surface, so keep it for damaged plates or for materials that refuse to cooperate any other way.
Adhesive fills the gap when chemistry works against you. A thin layer of PVA glue stick helps PLA and ABS stick to glass. With PETG the glue does the opposite job: PETG bonds so aggressively to smooth PEI and bare glass that it can tear chunks out of the surface, so the glue works as a release agent. Always put a separator between PETG and a smooth plate.
Design choices that fight warping
Round or chamfer the bottom corners of your model, because a sharp 90 degree corner concentrates all the peel force in one point. On large flat prints, add sacrificial mouse ears, small thin discs at each corner, and trim them off afterwards. If a part is very large and very flat, splitting it into two pieces and joining them after printing is usually faster than fighting the warp.
First layer settings by material
| Material | Nozzle | Bed | First layer speed | Adhesion notes |
|---|---|---|---|---|
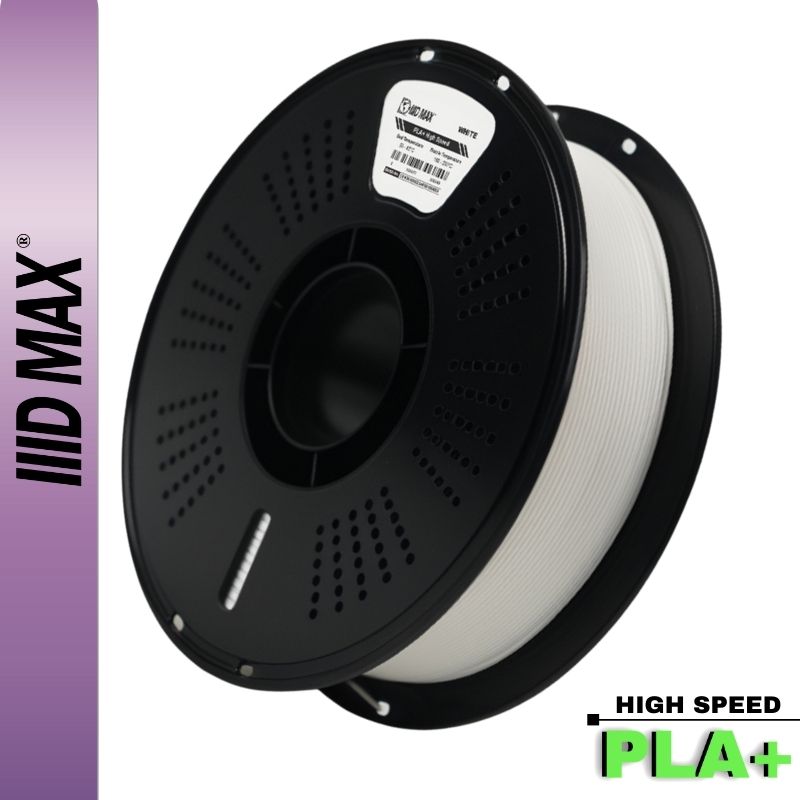
| PLA / HS PLA+ | 200 to 220C | 55 to 60C | 20 to 25 mm/s | Textured PEI, clean plate, no glue needed |
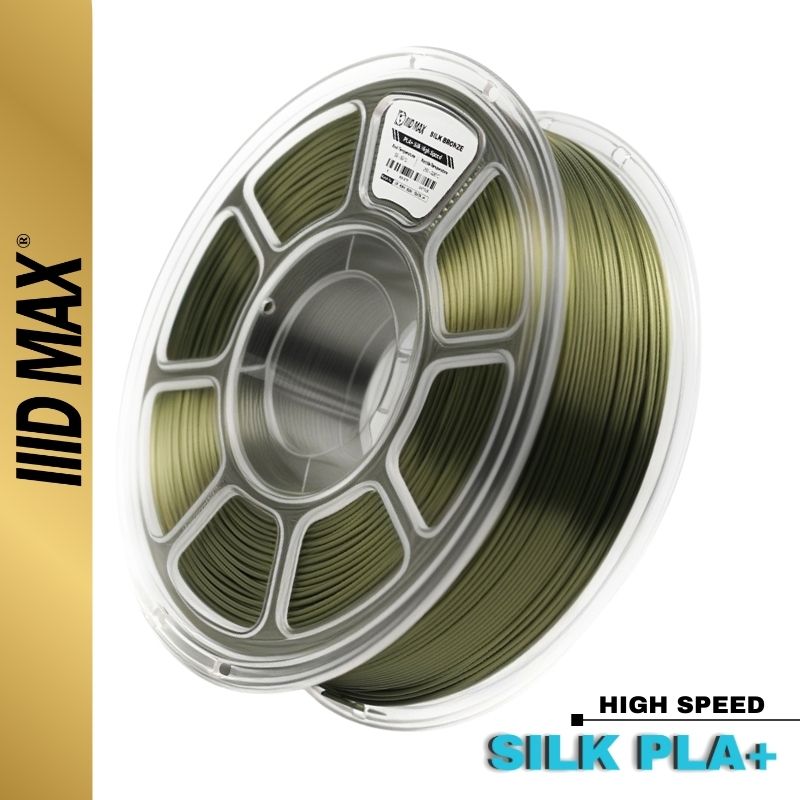
| HS Silk PLA | 215 to 235C | 55 to 65C | 20 mm/s | Runs hotter than standard PLA, keep the plate spotless |
| PETG / HS PETG | 230 to 250C | 75 to 85C | 20 to 25 mm/s | Glue stick as a release agent on smooth PEI or glass |
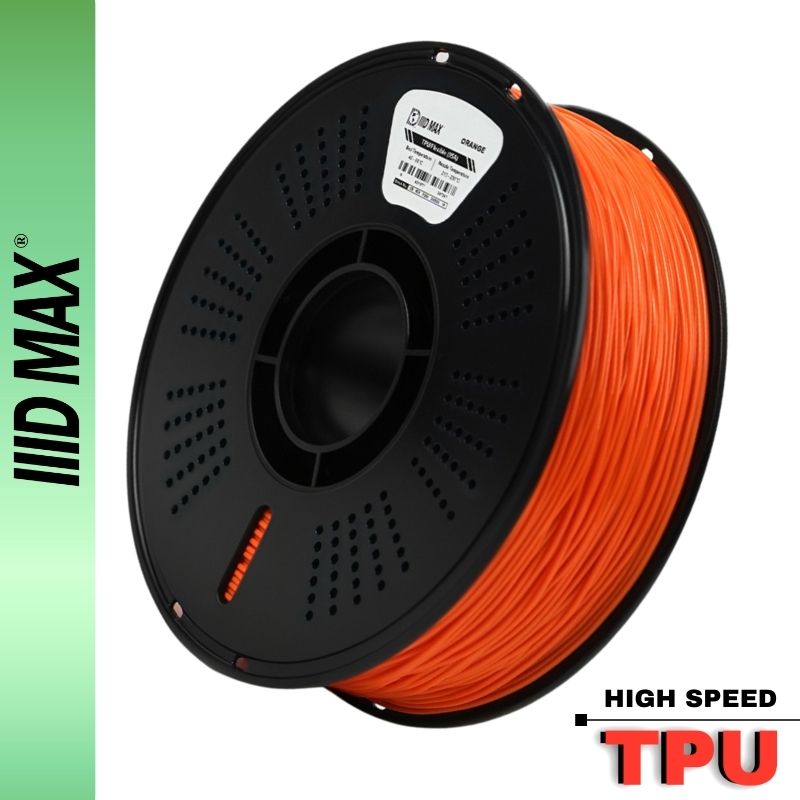
| TPU / HS TPU | 220 to 235C | 40 to 55C | 15 to 20 mm/s | Sticks easily, print slow and keep retraction low |
| ABS | 240 to 260C | 100 to 110C | 20 mm/s | Enclosure required, brim, glue stick on glass |
| ASA | 250 to 270C | 100 to 110C | 20 mm/s | Enclosure required, brim, zero drafts |
| Nylon (PA) | 250 to 280C | 70 to 90C | 20 mm/s | Dry the filament first, glue stick or a PA specific sheet |
| Polycarbonate | 260 to 290C | 100 to 120C | 20 mm/s | Enclosure, brim and glue stick, the hardest to keep flat |
| Carbon fiber blends | Base material +10C | Base material +5C | 20 mm/s | Hardened nozzle, otherwise follow the base material |
Treat these as starting points. Plates, ambient temperature and filament brands all vary, so expect to move 5C in either direction from the numbers above and keep whatever works on your machine. Silk PLA is the line on that table that changes the most once you get past the first layer, since it wants a hotter nozzle and less cooling all the way up, and we go through those numbers in the silk PLA settings guide.
Quick diagnosis
Gaps between the first layer lines: nozzle too high, lower the Z offset. Rippled, semi transparent first layer: nozzle too low, raise it. Part pops off in the middle of the print: bed too cool, plate dirty, or a draft. Corners curling upward: add a brim, cut the cooling fan on the early layers, close the enclosure. Bulge around the base: bed too hot or nozzle too low. Part welded to the plate: let the plate cool completely, then flex it, and use a release agent next time.
Consistent filament makes all of it easier
A diameter that wanders gives you a first layer that wanders with it, and moisture in the spool causes popping that breaks the layer before it ever bonds. If the first layer goes down clean and the trouble only appears higher up as bands or patchy walls, our surface defect guide separates the machine causes from the material ones. And if your trouble started with popping sounds at the nozzle, read our guide on drying filament before you touch another setting.
A first layer that behaves the same way every time starts with material that does. Our HS PLA+, HS PETG and carbon fiber filaments ship vacuum sealed with desiccant in 50+ colors, and hold +/- 0.03mm so the Z offset you dialed in last month still works today. Tell us your printer, your plate and the material you are fighting, and we will tell you where we would start.


