


You pull a silk print off the plate and the shine is there, but so is a column of blobs where the seam lands, a haze of fine strings across every gap, and a top surface that looks duller than the sides. Or the part looks perfect until you flex it and a layer pops open with almost no effort. Silk PLA is the most photogenic material most people own, and most people run it on a slicer profile borrowed from standard PLA. That profile is the reason it misbehaves.
What silk PLA is, and what the shine costs you
Silk PLA is PLA with additives blended into the resin to change how light reflects off the printed surface. Those additives give the strand its gloss and its slightly softer, more rubbery feel on the spool. They also change two things that matter at the nozzle: the melt is more viscous, and the bond between layers is weaker.
How much weaker is worth putting a number on, because the answer is lopsided. In a comparative test of one manufacturer's own range, MyTechFun measured eSilk PLA against that maker's PLA+ and found the pull strength along the part almost unchanged, 92.7 kg against 96.3 kg, while the bond between layers fell from 42.5 kg to 13 kg. Silk keeps nearly all of its tensile strength and gives up around 70% of its layer adhesion. Those are figures from one comparison on one brand's filament, not a normalized material property, but the shape of the result explains what people report.
Everything else here follows from those two facts. Higher viscosity means silk needs more heat to flow properly. Weaker layer adhesion means silk belongs on display pieces: vases, busts, dragons, cosplay props, anything whose job is to be looked at. Brackets, hinges, clips, and anything that carries load or takes repeated stress should be printed in standard PLA, PLA+, or PETG. A silk print will sit on a shelf for years without complaint, and it will split along a layer line sooner than PLA+ if you drop it or twist it.

That is a property of the additive package and every silk filament shares it. For the full side by side on strength, finish, and use cases, we covered that in PLA vs Silk PLA. This article is the settings half.
Temperature: hotter than standard PLA, with a ceiling
Run silk at the temperature you use for plain PLA and it underperforms in a specific way. The extrusion comes out stiff and under-fed, thin walls look starved, layers bond poorly, and the finish reads flat and chalky. The additives raised the viscosity, so the same 205C that flows plain PLA nicely is leaving silk half melted.
Worth knowing that manufacturers do not agree here. Bambu Lab publishes 215 to 220C at low speed and 225 to 235C above 100mm/s for its silk. eSUN and Polymaker publish the same range for their silk as for their standard PLA, 190 to 230C. So treat your spool label as the starting point rather than a universal rule. Push the nozzle up and two things improve at once. The melt flows cleanly, so extrusion is consistent and layers weld properly. And the outer skin lays down smoother, which is what a glossy surface needs, since gloss is a surface flat enough to reflect light in one direction. Heat is the single biggest lever on how shiny a silk print looks.
The ceiling is real, though. Too hot brings stringing between features, blobs at every start and stop, oozing on travel moves, drooping overhangs, and heat creep on long prints. Come down in 5C steps until the strings disappear, then stop. If the shine falls off before the strings do, suspect moisture rather than temperature: silk absorbs humidity like any PLA, and wet filament pops at the nozzle and wrecks the surface. Our filament drying guide has the temperatures and times.
Layer height and walls: where the surface is won
The instinct on a glossy print is to use thicker layers, on the theory that fewer lines means fewer things to see. Every silk manufacturer we checked says the opposite, and the reason is worth understanding. Each layer line is its own narrow band of reflected light. Print them thin and close together and the bands overlap into what your eye reads as one continuous sheen. Print them tall and separated and each band stands on its own, which is exactly the striped look you were trying to avoid.
Amolen puts the sweet spot at 0.12 to 0.16mm. Numakers says no more than 0.15mm. Eryone states plainly that a lower layer height gives more uniform gloss. The working range is roughly 0.12 to 0.20mm on a 0.4mm nozzle, which is finer than you would run a functional part in PLA+. There is a floor, though: Bambu Lab warns that very low layer heights combined with high speed can produce a fish-scale pattern and cites 0.08mm as an example. Do not chase thinness past 0.12mm expecting more shine.

| Setting | Standard PLA | HS Silk | Where the number comes from |
|---|---|---|---|
| Nozzle temperature | 200 to 220C | 215 to 235C | Bambu Lab publishes 225 to 235C at speed for its silk. eSUN and Polymaker publish the same range as their standard PLA, so start from your spool label |
| Bed temperature | 55 to 60C | same | No manufacturer we checked asks for a different bed under silk. Published values run from 25C to 80C with no pattern |
| Layer height (0.4 nozzle) | 0.16 to 0.20mm | 0.12 to 0.20mm | Thinner bands overlap into one sheen. Below 0.12mm at speed you risk a fish scale pattern |
| Wall count | 2 to 3 | 3, four on curves | Not for the seams. For opacity, so infill never telegraphs through and dulls a patch of the finish |
| Outer wall speed | 60 to 120mm/s | 30 to 60mm/s | The single confirmed lever on gloss. Bambu Lab publishes this exact range for silk |
| Infill and inner walls | fast | fast | Only the visible perimeter needs slowing. Everything the eye cannot see stays at full speed |
| Part cooling | 100% | 100% | Polymaker says full blast for best surface quality, eSUN says 100%. Reports of lowering the fan for gloss are user experiments, not maker guidance |
| Retraction (direct drive) | 0.4 to 0.8mm | 1 to 2mm | Silk oozes more at the temperature it wants. Polymaker 1 to 3mm, Amolen 1 to 2mm, RepRapper 1.5mm at 30mm/s |
| Seam position | Aligned or random | Aligned and painted | A random seam scatters visible dots across a reflective surface. Scarf seams help in general, though no maker has published silk specific data |
Treat those as starting points. Every printer, nozzle, and enclosure behaves a little differently, and the value of consistent filament is that once you find your numbers they keep working, which is the practical argument for tight diameter tolerance. IIID MAX holds diameter to +/- 0.03mm across the spool, so the flow you tuned on the first hundred grams is the flow you get at the end. Silk's softer strand also wants a spotless plate and a slightly warmer bed.
Speed: the number that decides the finish
Two different numbers get quoted as "the speed" for a filament, and confusing them is how people end up disappointed. One is the ceiling: how hard the machine can push the material before it skips, jams or delaminates. Our HS line is engineered for that 200 to 300mm/s range, and that figure is about durability. It tells you nothing about how the surface will look when you get there.
The other number is the speed that keeps the sheen, and it is far lower. Bambu Lab is blunt about it: going over 100mm/s is not recommended if you want good layer adhesion and a nice finish. eSUN, in its own parameter sheet for fast filaments, warns that if the speed is too big the printing gloss is not the same. Both are talking about the visible surface, not about whether the filament survives.
The resolution is that you do not have to pick one. Slow down the outer perimeter only. Bambu publishes 30 to 60mm/s for the outer wall on silk and Amolen agrees, going as low as 30mm/s for maximum shine. Infill, inner walls and travel stay fast. You are slowing the one line anybody is going to look at, which costs a few minutes on a print and buys most of the finish.

While we are correcting instincts: leave the part cooling fan alone. There is a popular idea that easing the fan back keeps the surface fluid longer and therefore glossier. The manufacturers say otherwise. Polymaker's wiki instructs you to leave the cooling fan on at full blast for best surface quality, and eSUN's technical data sheet for eSilk-PLA specifies 100%. Some users report better results at 50 to 70%, and that is worth an experiment on your own machine, but it is a user experiment rather than published guidance.
Stringing and the seam problem
Silk strings more than standard PLA because you are running it hotter and it oozes more freely. Retraction distance is the first knob. The published numbers for silk sit higher than most people run for plain PLA: Polymaker specifies 1 to 3mm, Amolen 1 to 2mm on direct drive and 4 to 6mm on bowden, RepRapper 1.5mm at 30mm/s. Start at the low end of those and work up. Then turn on wipe before retract and push travel speed up, so the nozzle spends less time hovering over open air.
The seam is the harder problem. On a matte print a seam is a faint line. On a gloss surface it is a bright interruption in the reflection, and the eye finds it immediately. Random placement is the worst choice, since it turns one visible line into dozens of scattered specks. Two approaches work. The reliable one is aligned and painted: set the seam to aligned and put it on a back edge, a corner, or a natural crease, which is what the experienced users in Prusa's own silk thread recommend. Worth knowing before you try to fix one afterwards, sanding a seam out ruins the finish on silk, because the gloss came from how the skin cooled and there is no coating to polish back. The other option is a scarf seam, which ramps the start and end of each perimeter so the transition spreads over a distance instead of stacking in one spot. Slicer documentation describes it as reducing visible seam defects in general. No manufacturer has published silk specific results for it, so treat it as promising rather than proven.

What not to do with silk
Test ironing before you trust it. On matte PLA it smooths a top surface. On silk, users in Bambu Lab's forum report the opposite, with one describing a top face that came out more matte than normal after ironing. Numakers, meanwhile, actively recommends it for silk. Nobody has published a controlled comparison, so this one is unsettled and your own machine gets the deciding vote.
Avoid models with many small islands per layer. Every separate island means another seam, another retraction, another blob, and on glossy material all of it shows. Chain mail, lattice work, and heavily perforated geometry are the wrong showcase for silk. Raised lettering falls in the same category, since every character is its own island and its own seam.
Do not print thin or fragile parts. The weak layer bond is a material property that no slicer setting fixes. Narrow necks, delicate fingers, and slim standoffs will snap. Thicken the geometry, orient the load along the layers rather than across them, or print that model in PLA+.
Shooting silk, and getting the most from dual color silk
Plenty of silk buyers print for content, and silk photographs badly under the wrong light. Flat overhead lighting and on-camera flash wash the sheen into a white blob. What you want is raking light: a single soft source low and off to one side, so the light skims the surface and the highlight travels along the curves. Put the piece on a dark, non-reflective background. For video, a slow turntable beats moving the camera, because the highlight sweeping across the model is the whole effect. Wipe fingerprints off first, they show on silk more than on any other finish.
Dual color silk carries two colors in the same strand, and the transition happens as filament is consumed. SUNLU puts the change at roughly every 8 metres of filament. The practical consequence is that the gradient tracks how much material you use, not the shape you modelled, so infill density and layer height change how fast the colors move. That has a clear consequence for setup. Tall, continuous prints with a steady cross section show it best: vases, spiral mode pieces, columns, single-object busts, anything where the printer works its way up in an unbroken path and the gradient climbs with it. Layers with several separate islands split the transition across parts of the same layer, so the gradient breaks up, and printing several objects at once burns through the color range faster because every layer feeds all of them. SUNLU recommends low infill, 5 to 15%, and thin layers for a slower, smoother gradient. Print dual silk tall and singular, and give it a plain surface to run across.

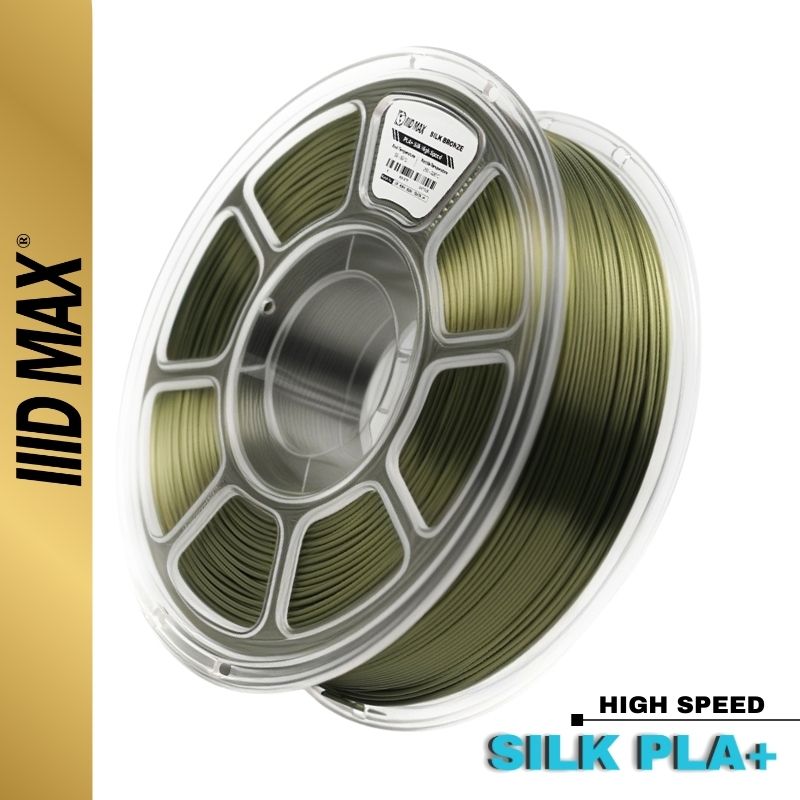
Silk is worth the extra setup time, and it sells. IIID MAX makes HS Silk in Miami, 1.75mm, 1kg spools, held to +/- 0.03mm, vacuum-sealed with desiccant, and tuned for the 200 to 300mm/s range the HS line is built around. Browse the range at Silk PLA. If you are dialing in a profile and something will not behave, send us the model and your settings and we will tell you what we would change.


