


Just unboxed your first 3D printer? Staring at a wall of filament types (PLA, PETG, ABS, TPU, nylon) wondering which one to load first? Take a breath. The answer is easy, and it's the same one almost every experienced maker will give you: start with PLA.
Here's why it's the right call, what it's good for, where it stops being the right material, and how to nail your very first print.

Why PLA is the easy mode of 3D printing
PLA is the most forgiving filament you can buy, and it comes down to how it behaves while printing:
- It melts at a low temperature (around 200 to 220C), so it's gentle on your printer and easy to dial in.
- It barely warps as it cools, so your corners stay stuck to the bed instead of curling up.
- It doesn't need an enclosure or a super-hot bed, an open printer in a normal room is plenty.
- It has great first-layer adhesion, which is where most beginner prints fail.
Translation: more of your prints will actually finish, and look good, while you're still learning.
Those points deserve unpacking, because "forgiving" is a vague word. Warping is the big one. Every thermoplastic shrinks as it cools, and that shrinkage is what pulls corners off the plate halfway through a long print. PLA shrinks very little, so a flat 200mm baseplate stays flat. It also sticks at 55 to 60C, which every heated bed reaches in a minute, with no chamber to preheat.
An enclosure is unnecessary for PLA, and it can even work against you: PLA wants aggressive part cooling, and a sealed chamber softens overhangs and makes fine details droop. PLA also skips the sharp styrene smell of ABS, which is why most people run it in a home office without a second thought. Ventilate anyway, since any melted plastic gives off ultrafine particles.
The temperature window is wide too. The same model printed at 200C and at 220C will both come out usable, differing in surface finish rather than in success or failure. That margin is what saves beginners: a profile off by ten degrees still gives you a part, while nylon or polycarbonate would hand you a failure.
What PLA is great for (and where it stops)
PLA shines for decorative pieces, figurines, prototypes, organizers, and everyday parts that don't get hot or carry heavy loads. It's strong and stiff for normal use, and it reproduces fine detail cleanly, so miniatures and textured surfaces come out sharper than they do in most other materials.
Three things end PLA's usefulness, and knowing them up front saves disappointment.
Heat. PLA begins to soften around 55 to 60C. A car interior in summer goes well past that, so dashboard mounts sag and clips let go. PETG covers moderate heat and takes more abuse. Near an engine, a light fixture or hot water, go to ABS or ASA.
Sustained load. Even at room temperature PLA creeps: under constant stress it deforms slowly over weeks instead of breaking. A hook carrying a heavy bag, or a loaded shelf bracket, will sag. PETG handles that better, and so does adding walls.
Sunlight. Prolonged UV makes PLA brittle and fades the color, so anything living outdoors year round belongs in ASA, with ABS second.
None of this makes PLA a training-wheels material. Print farms run it all day for products that live indoors. Match the material to where the part will live, and when you hit one of those walls, step up to stronger materials.
Nozzle: 200 to 220C
Bed: 55 to 60C
Speed: start moderate (40 to 60 mm/s) while you learn
Cooling fan: on (100% after the first few layers)
PLA versus PLA+: what the plus actually means
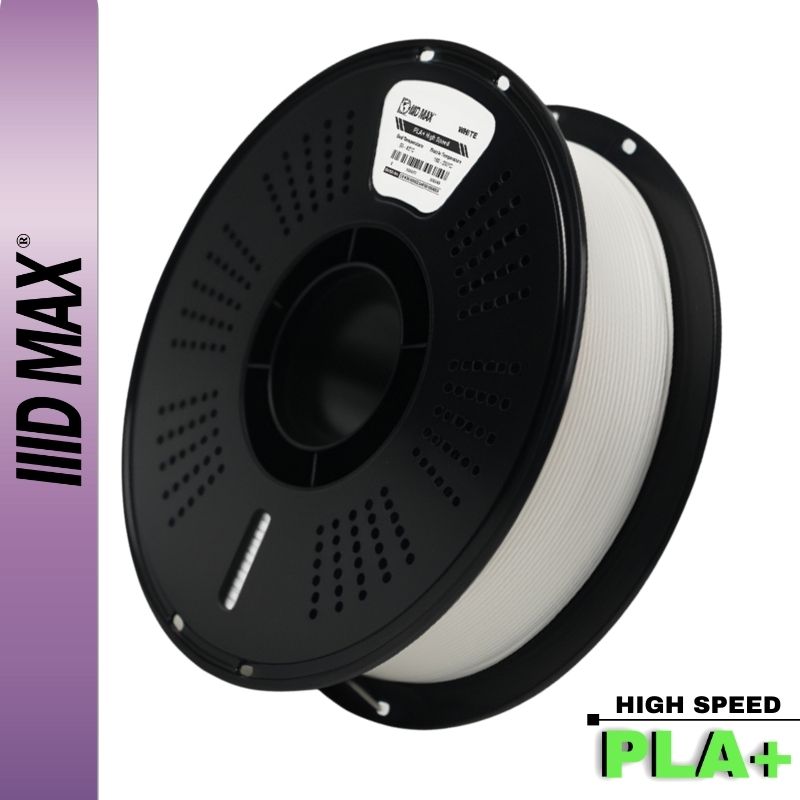
Both sit on the shelf at close to the same price, so it helps to know what you're buying. PLA+ is not a standardized grade. No industry body defines it and every manufacturer decides what goes into it. In practice the base PLA is blended with impact modifiers and processing additives to make it less brittle, and in the high-speed grades to let it flow faster.
On the bench the difference shows up in how parts fail. Standard PLA snaps cleanly. A good PLA+ bends further first, holds printed threads better and survives being dropped.
Since the label is unregulated, what matters is how a given manufacturer's version behaves. Ours is HS PLA+, built for the 200 to 300mm/s range modern high-flow hotends can actually use, held to +/- 0.03mm on 1.75mm and shipped vacuum sealed with desiccant. For a first spool either material works, and PLA+ is the safer default.
The five settings that matter, in plain language
Your slicer exposes hundreds of parameters. Five account for nearly every beginner problem; the rest can stay at the profile defaults.
| Setting | Start here | What it actually does |
|---|---|---|
| Nozzle temperature | 200 to 220C | How fluid the plastic is as it leaves the nozzle. Too low gives weak layers, too high gives strings and blobs. |
| Bed temperature | 55 to 60C | Keeps the first layer soft enough to weld itself to the plate. Too high and the base bulges outward. |
| Print speed | 40 to 60 mm/s while learning | How much plastic the hotend must melt per second. Slower gives the machine time to get everything else right. |
| Part cooling fan | 100% after the first two layers | Freezes each layer before the next lands. PLA wants maximum cooling, especially on overhangs and small parts. |
| First layer and Z offset | 0.2mm, lines slightly squashed | Sets how hard the first layer is pressed into the plate. This number decides whether a print sticks. |
Infill at 15 percent covers almost everything. Change one thing at a time, print the same test part, and see what moved.
5 quick tips for a clean first print
- Level your bed. A good first layer fixes 90% of beginner problems.
- Clean the build plate. A wipe of isopropyl alcohol removes finger oils that wreck adhesion.
- Start slow. Speed comes later, clean prints come first.
- Keep the filament dry. Even PLA prints better when it hasn't sat open for months, and our guide to drying filament covers the symptoms and the fix.
- Print a calibration model. A Benchy or a simple cube tells you everything about your settings.
For your first week, work through them in this order. Print the model that shipped on the printer's own SD card, unmodified, so you know the machine works. Then a single-layer square covering most of the plate, and study it. Then a Benchy at stock settings. Then a temperature tower, which prints the same shape at several nozzle temperatures so you can pick the best one for your spool. Your own models come next, functional parts last.
Three mistakes nearly every beginner makes
Over-tightening the bed. Chasing a first layer by cranking the leveling knobs until the nozzle digs into the plate is the most common one. A nozzle pressed too close starves extrusion and gouges the build surface. Set it so a sheet of paper drags lightly under the nozzle, then trim the Z offset in 0.02mm steps while the first layer prints.
Printing too fast too early. High speed only works once flow, cooling and the motion system are already dialed in. Speed is the last variable you touch. Get a clean part at 50 mm/s, then raise it.
Blaming the settings when the plate is dirty. Fingerprints and the release film on a brand new sheet ruin adhesion, and no amount of temperature tuning fixes that. Wash the plate with dish soap and warm water, dry it, wipe it with isopropyl alcohol, and handle it by the edges afterward.
All three come back to reading the first layer. A good one is a continuous sheet: lines slightly flattened and touching with only a faint seam, uniform sheen across the footprint, nothing shifting. A bad one has one of two signatures. Gaps between the lines and a rounded, ropey look mean the nozzle sits too far away. Thin translucent patches, raised ridges at the edges of the lines, or a scraping sound mean it is too close. Corners peeling while the rest holds is an adhesion problem rather than a Z offset problem: clean the plate, add a brim, and keep the fan off for the first layers.
Where to go next
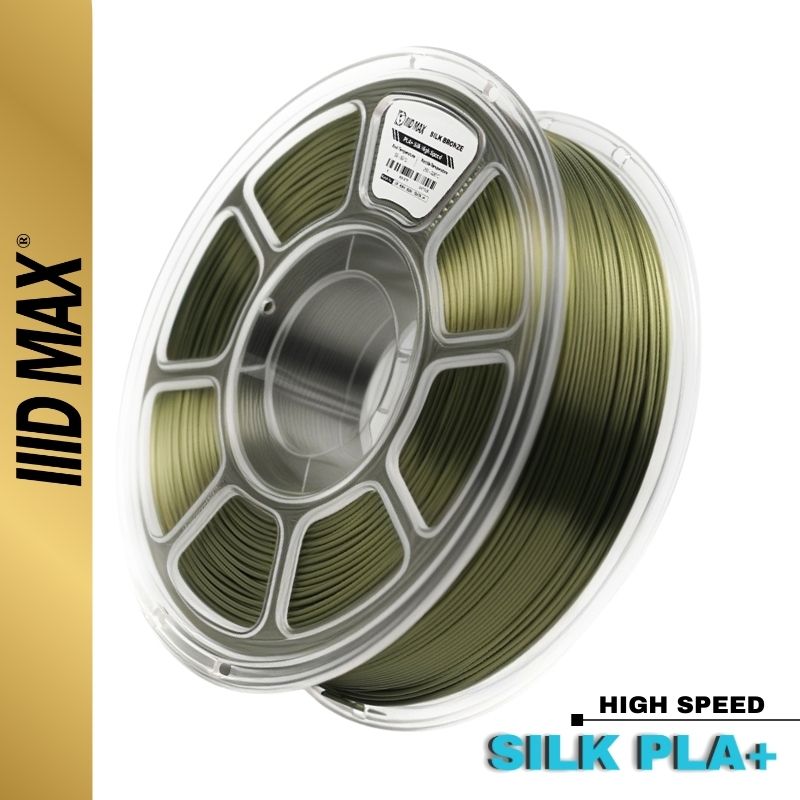
Once you've got PLA dialed in, you've got options. Want that glossy, metallic look? Try silk PLA, slightly trickier to print, and here's how it compares to regular PLA. Need parts that survive heat or load? That's when you graduate to tougher materials, PETG first, then ABS or ASA.
But for now: load PLA, level that bed, and hit print. Welcome to the hobby.

Ready to start? Browse our PLA+ filament in 50+ colors, made in the USA and easy to print, for your first hundred prints and the thousand after.


