


Sooner or later, every maker hits the same wall: a part you printed in PLA snaps, melts in a hot car, or slowly bends under load. PLA is the perfect place to learn, but it was never built to take a beating. The good news is that moving up to tougher materials is easier than the internet makes it sound. You just need to know which step to take, and when.
Here's the honest path, from the free fixes to the serious materials.

First, why PLA isn't enough
PLA is stiff and surprisingly strong in a straight pull, but it has two real weaknesses: it's brittle (it cracks instead of flexing) and it has low heat resistance, softening around 55 to 60 C. Leave a PLA bracket in a parked car in summer and it can sag. Put it under constant load and it slowly deforms over time.
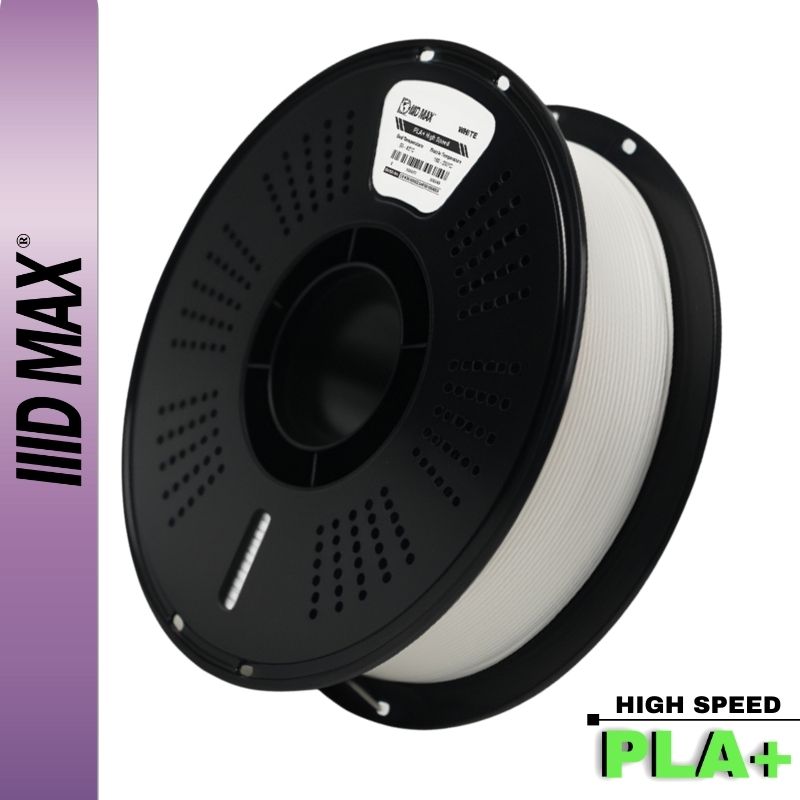
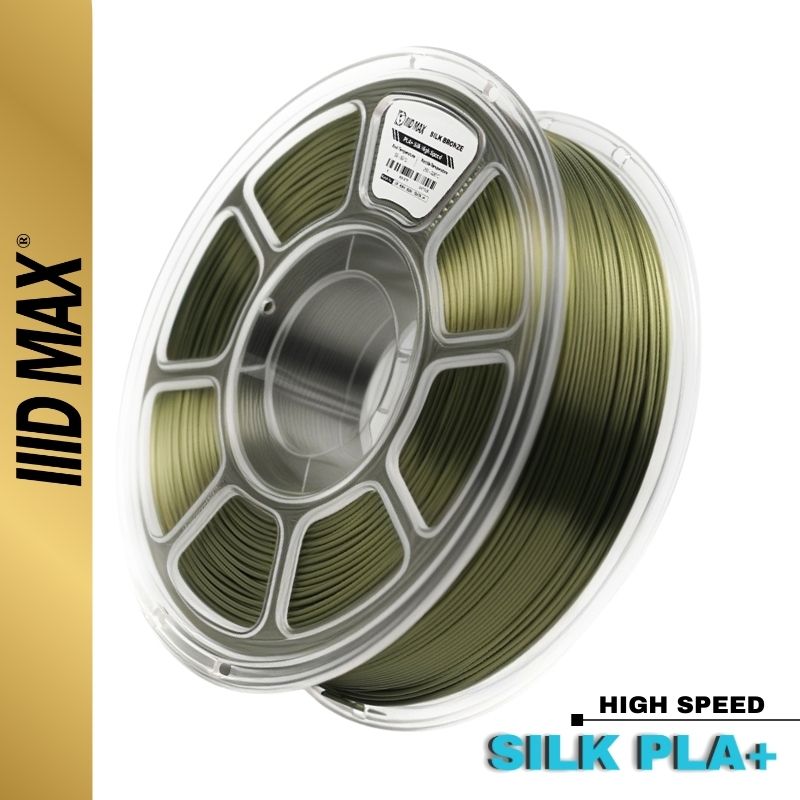
So "stronger" usually means one of three things: tougher (won't crack), more heat-resistant, or both. Each material below solves a different piece of that. One thing to rule out first: a good PLA+ is meaningfully tougher than basic PLA, while silk PLA gives up strength for shine, so know what is on the spool before you blame the material.
Before you buy anything: orientation, walls and infill
An FDM part is a stack of welded layers, which makes it anisotropic: much stronger along the printed lines than across them. Pull a printed bar along its length and you test the plastic; pull it apart along the layer axis and you test the weld between passes, which is always weaker. Almost every clean break you have seen happened there.
That makes print orientation the highest-leverage strength decision you make, and it is free. Find the direction the load travels through the part and rotate the model so the layers run across that path. A hook printed flat on the bed fails at the layer where it curves; standing up, with the layers running through the curve, it holds far more.
Walls carry the load. Infill mostly keeps the walls from buckling. Going from two walls to four beats going from 15% to 50% infill on most parts. Raise infill instead when the part takes broad compression, when a screw or heat-set insert lands in the middle of it, or when a wide flat top has to stay flat. A baseline for functional parts: four walls, five top and bottom layers, 25 to 30% infill.
Pattern matters less than count. Gyroid is close to equal in every direction and is the best default. Grid is stiff along its two line directions and weak diagonally. Cubic holds up in three directions.
The strength levers most people skip
Nozzle temperature is the most underused strength setting there is. Layer adhesion is a weld, and hotter plastic stays molten longer against the layer below, so the passes mix more deeply. Printing near the top of a material's range instead of the bottom improves layer bonding noticeably, and you pay for it in surface finish and stringing.
Layer height and cooling pull the same way. Taller layers mean fewer weld interfaces and more material per pass, so 0.24mm on a 0.4mm nozzle usually beats 0.12mm for Z strength. Maximum fan does the opposite: it freezes each layer before the next one lands, great for crisp overhangs and bad for the weld. On functional PLA parts, drop the fan to about half and slow down a little.
Wet filament destroys layer adhesion, invisibly. Moisture flashes to steam in the nozzle and leaves voids and a foamed extrusion, so a part printed from a damp spool can be far weaker than it looks. If you hear popping, dry the spool before you change anything else; our filament drying guide has times by material. It is also why our spools ship vacuum-sealed with desiccant.
Annealing is the last resort. Baking a finished PLA part above its glass transition point lets it crystallize further, raising stiffness and heat resistance, but parts shrink and distort: dimensions move unevenly and tight fits stop fitting. Anneal only loose-tolerance parts, and expect to lose the first attempt.
Step 1: PETG, the easiest upgrade and the one most people need
If you only take one step up from PLA, make it PETG. It's the sweet spot: noticeably tougher than PLA (it bends before it breaks), handles heat up to around 70 to 80 C, and resists water and chemicals. It's great for functional brackets, enclosures, outdoor-ish parts, and anything that gets handled or dropped.
Best part: PETG prints on the same open-frame printer you already own, with no heated chamber required. It's a little stickier and stringier than PLA, so you'll slow down slightly and dial in retraction, but there's no big learning curve.
For maybe 90% of "I need this part to be stronger" jobs, PETG is the answer. Start here.

Step 2: ABS and ASA, for heat and impact
When parts need to survive real heat (engine bays, electronics enclosures, anything near sunlight) or take repeated impact, you step up to ABS or its weather-resistant cousin ASA (we break down the differences and safety in our ASA vs. ABS guide). Both shrug off temperatures around 95 to 100 C and are tougher under sudden impact than PETG.
The trade-off is process. ABS and ASA warp as they cool and release fumes while printing, so they really want an enclosed printer and good ventilation. ASA is the better pick for anything that lives outdoors, since it resists UV and won't yellow or get brittle in the sun the way ABS does.
If you don't have an enclosure yet, this is the step where it becomes worth buying one.
Step 3: Nylon (PA), the tough, wear-resistant end
Nylon is where you go for parts that need to be strong and take abuse: living hinges, gears, tool mounts, things that flex thousands of times without cracking. It's tough, slippery (great for moving parts), and wear-resistant. (Make sure your machine is ready first, here's what your printer needs for nylon.)
The catch: nylon is extremely thirsty. It soaks up moisture from the air fast, and wet nylon prints badly (bubbles, weak layers). You have to dry it before printing and keep it dry. It also needs higher temperatures and ideally an enclosure. It's the most demanding of the bunch, and nothing else matches it for tough, functional parts.
A quick note on carbon-fiber blends
You'll see "PETG-CF," "Nylon-CF," and similar. The carbon fiber adds stiffness and dimensional stability: parts hold their shape better and flex less, while raw strength stays close to the base material. They're great for rigid functional parts, just note they're abrasive and will chew through a brass nozzle, so you'll want a hardened steel nozzle.
The quick comparison
| PLA | PETG | ABS / ASA | Nylon | |
|---|---|---|---|---|
| Toughness | Brittle | Good | Very good | Excellent |
| Heat resistance | 55 to 60 C | 70 to 80 C | 95 to 100 C | 95 to 100 C and up |
| Ease of printing | Easiest | Easy | Moderate (enclosure) | Hard (must dry) |
| Enclosure needed? | No | No | Yes (recommended) | Yes |
| Best for | Learning, display | Everyday functional parts | Heat + outdoor (ASA) | Tough moving parts |
Design the part to be strong
Fillet every internal corner. A sharp inside corner concentrates stress at one point, and that point is where the crack starts. Even a 2mm radius where a bracket's upright meets its base spreads the load.
Add ribs instead of mass. Doubling wall thickness doubles material and print time, while a gusset or a few ribs running along the direction of bending buy more stiffness for a fraction of both.
Keep holes and notches out of the high-stress zone. Holes, slots and embossed text are stress risers. Move them to the calmer part of the geometry, and put washers under bolt heads so the clamp load spreads.
So where do you actually start?
Don't overthink it. Print PETG. It covers the vast majority of "I need this stronger" situations, runs on the printer you already have, and the jump from PLA is small. Get comfortable there first.
If you want the ranking without the nuance: for stiffness, PLA leads and pays for it in brittleness. For toughness, roughly nylon, then ABS and ASA, then PETG, then PLA. For heat resistance, nylon and ABS/ASA first, PETG next, PLA last. Which one counts as strongest depends entirely on the failure you are trying to prevent.
Only move to ABS/ASA when you specifically need heat or outdoor durability, and to nylon when you need maximum toughness and you're ready to deal with drying. Buy the enclosure when the material demands it, and only then.
Master one step at a time, and you'll never print a part that can't do its job again.

Ready to print stronger? Explore our PETG and engineering filaments, and if you're not sure which material fits your project, reach out. We'll help you pick.


